camera identify
Try for Free
tab list
PictureThis
PictureThis
Search
Search Plants
Try for Free
This page looks better in the app

How to Preserve Your Garden Harvest: Top Techniques for Post-Harvest Processing

Discover how canning, drying and freezing can help you make the most of your bounty throughout the year.
Rectangle Frame
Line
To enjoy garden produce's natural vibrancy and nutritional value all year round, understanding the right post-harvest processing techniques is key. This article introduces how canning, drying, and freezing work as preservation techniques, along with practical tips for use.
Rectangle
Canning: Preserving the Flavors in a Jar
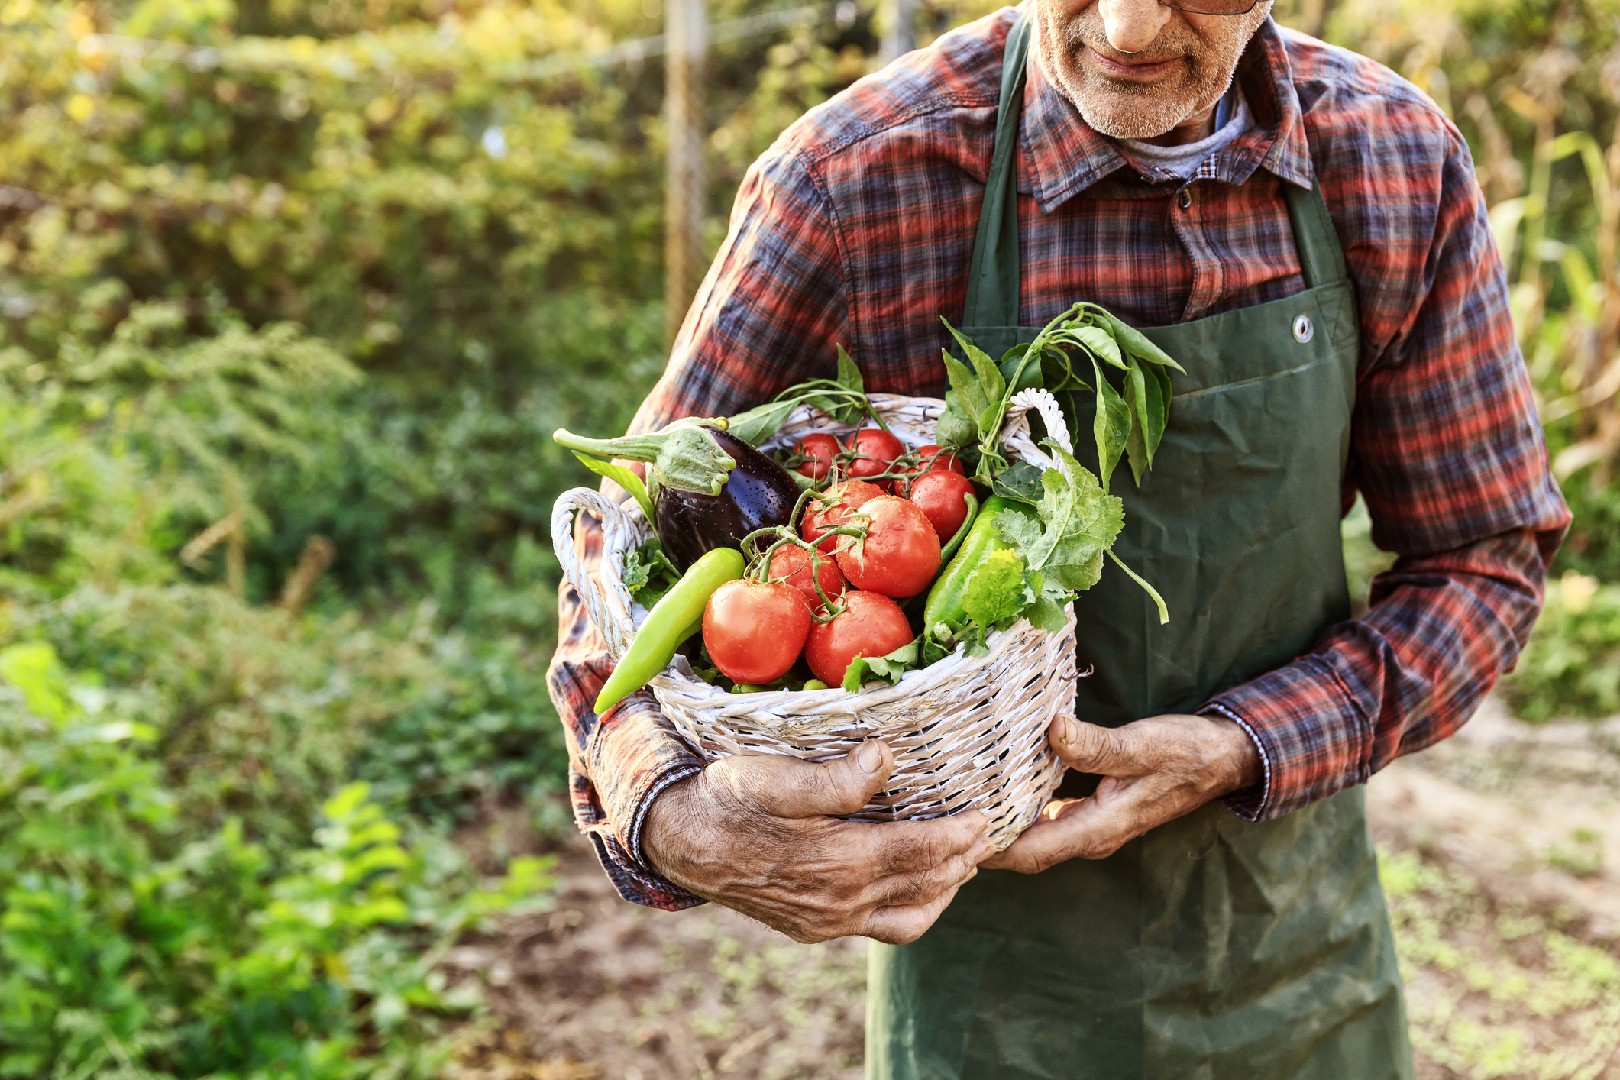
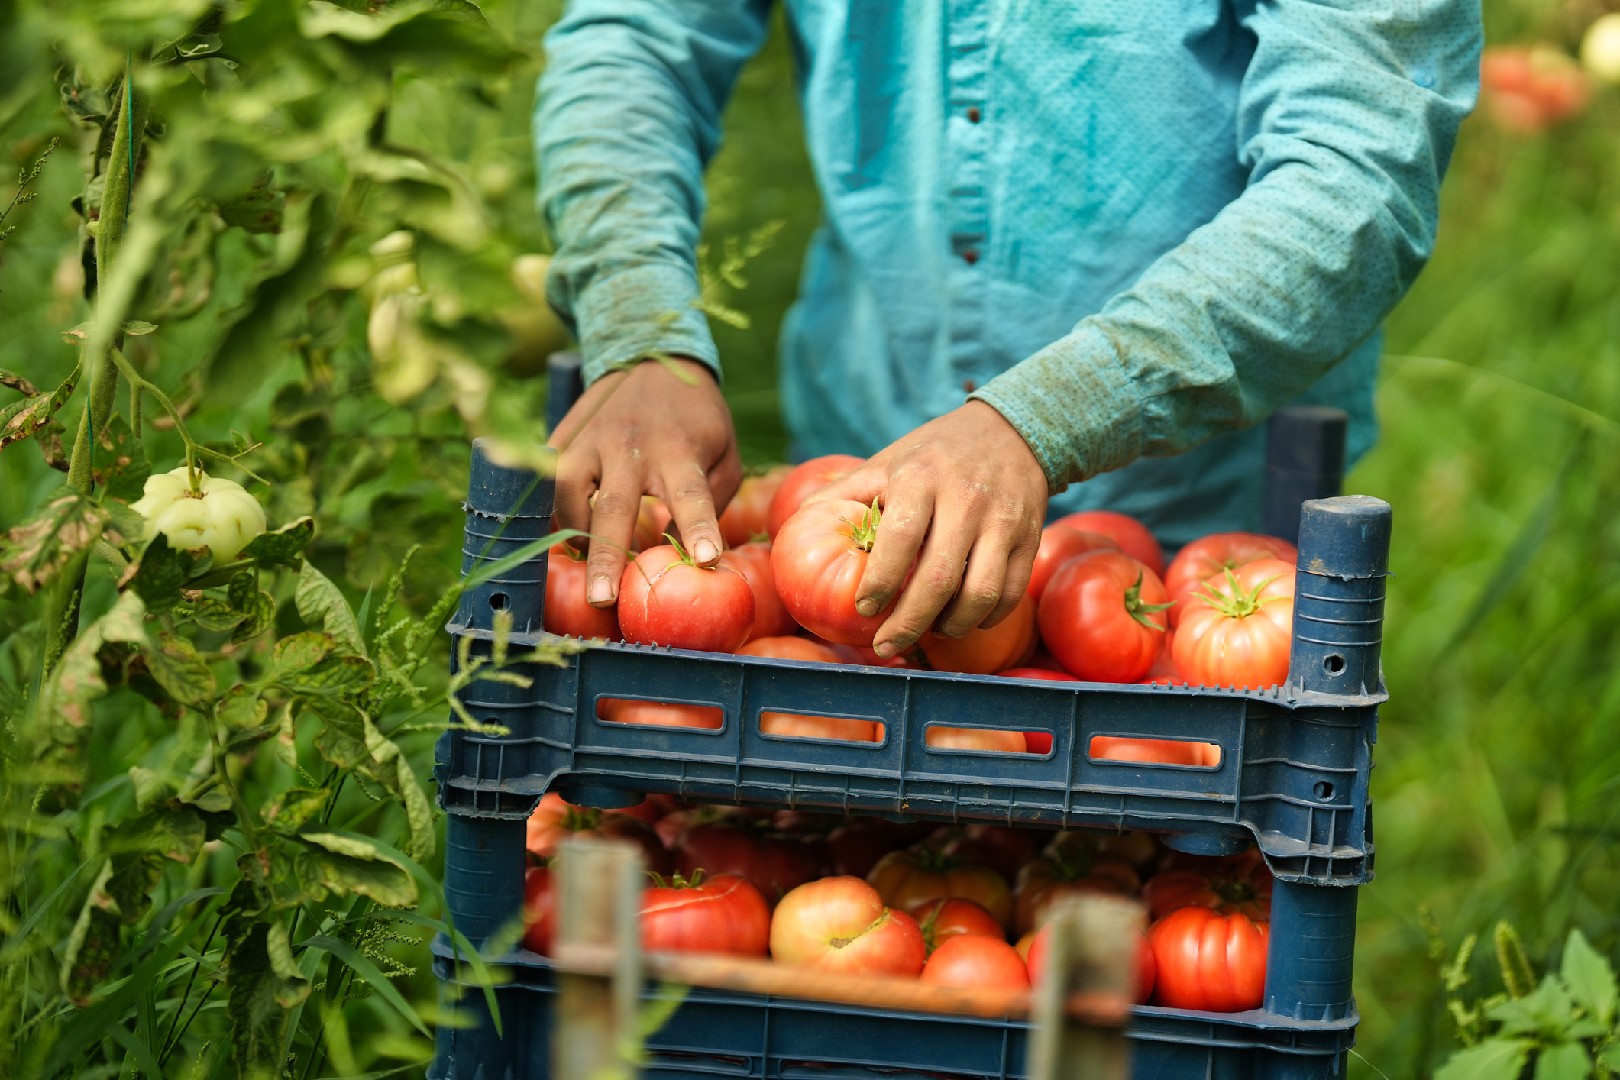
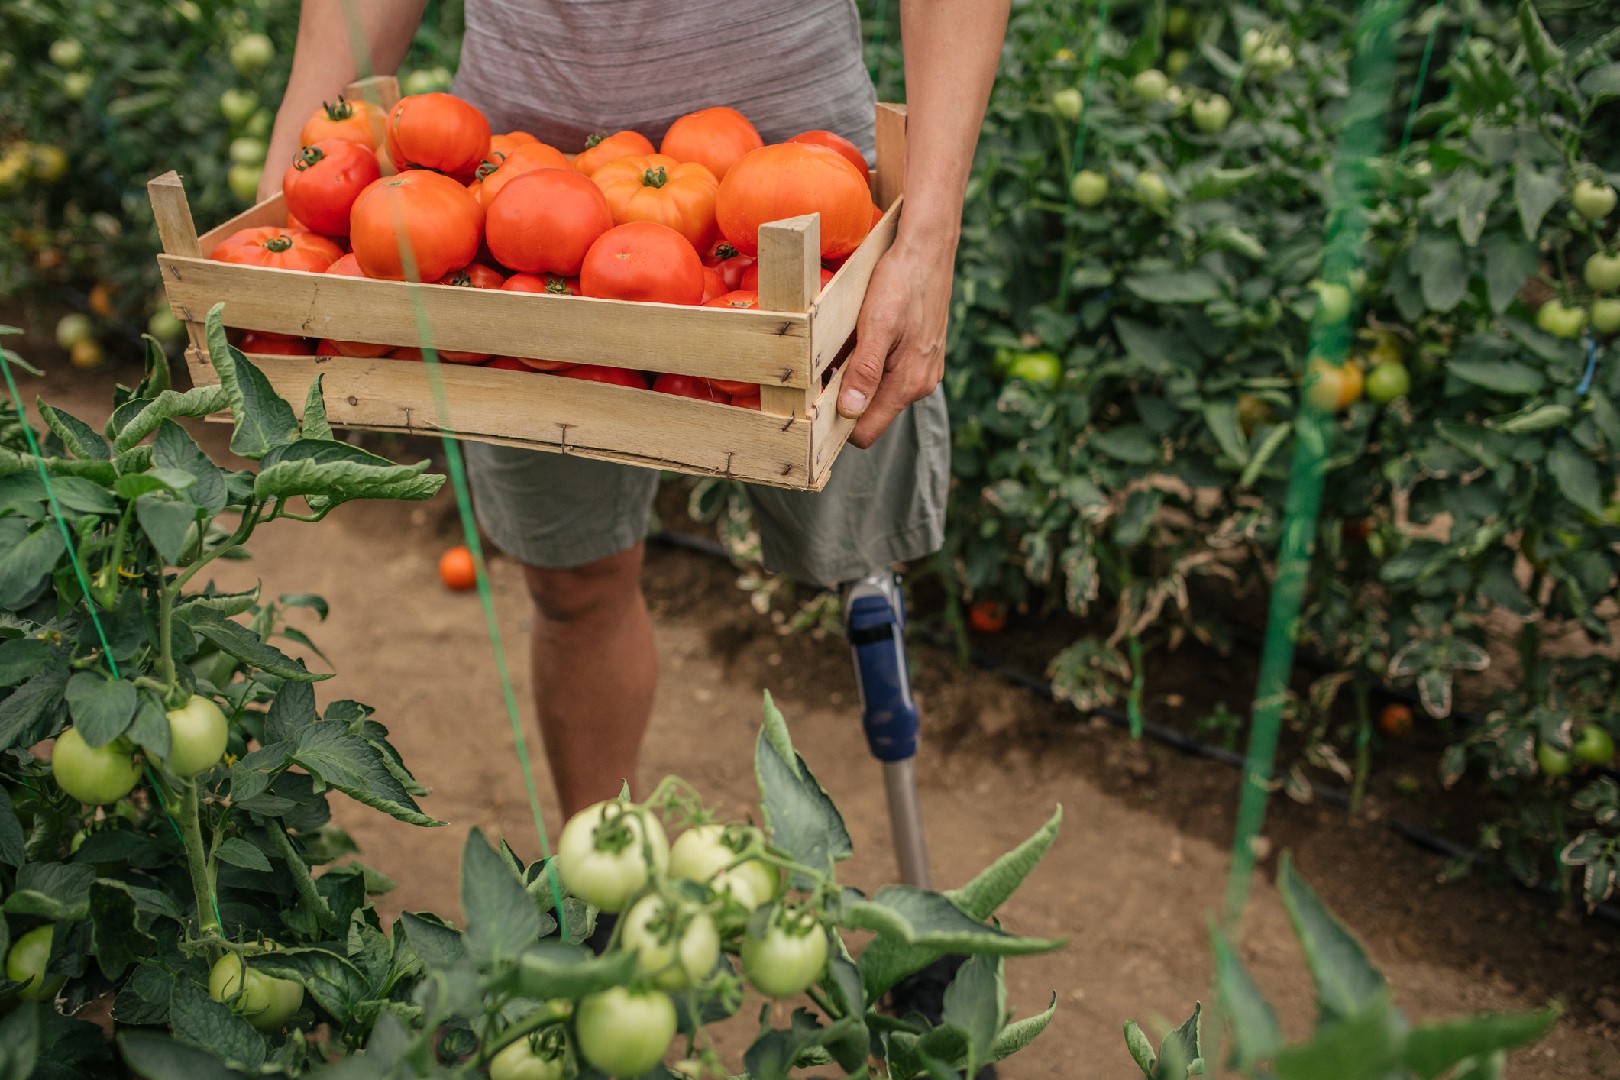
Canning is a time-tested method of preserving the flavors and nutrients of fresh fruits, vegetables, and more. It's a practical and convenient way to enjoy the bounty of your garden harvest even long after the growing season is over. In this section, we will explore the canning process in detail, providing you with a practical guide on how to can at home.
To understand the canning process, it's important to know the benefits it offers. Canning helps to extend the shelf life of foods by creating a vacuum seal that prevents the growth of bacteria, mold, and yeast. This preservation method also locks in the flavor, texture, and nutritional value of the produce, ensuring that you can enjoy them year-round. Imagine savoring the taste of ripe strawberries or homegrown tomatoes in the middle of winter!
To start canning at home, you'll need a few essential pieces of equipment. Firstly, you'll need canning jars, which come in various sizes depending on your needs. Opt for jars with two-piece lids, consisting of a flat metal lid and a screw band. These lids create an airtight seal when properly processed. You'll also need a canner or large pot with a lid to process the jars. A canning rack is useful for keeping the jars elevated and submerged during processing. Lastly, a jar lifter and a canning funnel will make the process easier and safer.
Now that you have the necessary equipment, let's dive into the step-by-step canning process. Start by washing and sterilizing the jars and lids in boiling water. This ensures that the jars are clean and free from any contaminants. Prepare your chosen recipe by washing, peeling, and cutting the fruits or vegetables as required. Fill the hot, sterilized jars with the prepared food, leaving the recommended headspace. Wipe the jar rims clean, place the lids on top, and screw the bands tightly.
Next, it's time to process the filled jars in a boiling water bath or a pressure canner, depending on the food being canned. The processing time and method vary depending on the acidity level and density of the food. Follow a trusted recipe or resource to determine the appropriate processing time and method for your specific food item. After processing, carefully remove the jars from the canner and let them cool on a towel or wooden surface. As the jars cool, you'll hear a satisfying "pop" as the lids seal.
Canning opens up a world of possibilities when it comes to preserving foods. Besides fruits and vegetables, you can also can jams, jellies, pickles, salsas, and even soups. It's a great way to enjoy the flavors of summer all year long. Experiment with different recipes and try unique flavor combinations to create your own signature canned goods.
By mastering the art of canning, you not only extend the life of your garden harvest but also gain the satisfaction of self-sufficiency. Knowing that you can preserve the flavors, nutrition, and hard work you put into your garden is empowering. So, roll up your sleeves, gather your supplies, and embark on a canning adventure. Your future self will thank you when you crack open a jar of your homemade, preserved goodness in the midst of a cold winter's day.
Rectangle
Drying: Prolonging Shelf-Life with Minimal Space
Drying is an effective and practical method for preserving your garden harvest. Not only does it prolong the shelf-life of your produce, but it also requires minimal space, making it an ideal option for those with limited storage areas. In this section, we will explore different methods of drying and provide ideas for using dried produce in daily meals.
One of the simplest and most common methods of drying is air-drying. This method involves allowing the produce to dry naturally in the air. To air-dry your fruits and vegetables, start by washing and preparing them. For leafy greens, remove any damaged or yellowed leaves, and for fruits and vegetables, slice them into thin, even pieces. Place the produce on a clean tray or wire rack in a cool, dry, and well-ventilated area. Make sure to keep the pieces separate to allow for proper airflow. Depending on the humidity and temperature of your environment, the drying process can take anywhere from a few days to a couple of weeks. Once the produce is completely dry and brittle, it is ready for storage.
Another popular method of drying is sun-drying. This method works especially well for fruits and is a great option if you live in a sunny location. To sun-dry your produce, start by preparing them as you would for air-drying. Then, place the produce on a clean tray or sheet and position it in a sunny spot that receives direct sunlight throughout the day. Make sure to protect the produce from dust, insects, and birds by using a cover, such as a fine mesh or cheesecloth. Sun-drying can take several days to a couple of weeks, depending on the weather conditions. Once the produce is dry and leathery, it is ready to be stored.
If you prefer a quicker and more consistent drying method, consider using a food dehydrator. Dehydrators are designed to remove moisture from produce efficiently and effectively. They come in various sizes and models, allowing you to choose the one that best suits your needs. To dehydrate your fruits and vegetables, wash and prep them, and then arrange them on the dehydrator trays. Follow the instructions provided by the manufacturer regarding temperature and drying time. Dehydrating usually takes a few hours to a day, depending on the type and thickness of the produce. Once the produce is dry and pliable, it is ready for storage.
Now that you know different drying methods, let's explore some exciting ideas for using dried produce in your daily meals. Dried fruits, such as raisins, dates, and apricots, make delicious additions to cereals, baked goods, and trail mixes. They can also be rehydrated and added to stews or used as toppings for salads. Dried vegetables like sun-dried tomatoes, peppers, and mushrooms add intense flavor to pasta dishes, pizzas, and soups. You can also blend them into powders and use them as natural seasoning or mix them with nuts and seeds to create your own custom snack mix.
In conclusion, drying is a practical and space-saving method for preserving your garden harvest. Whether you choose air-drying, sun-drying, or using a food dehydrator, this preservation technique allows you to enjoy the bounty of your garden long after the growing season has ended. By incorporating dried produce into your daily meals, you not only prolong the shelf-life of your harvest but also add unique flavors and textures to your dishes. So go ahead and give drying a try, and enjoy the taste of your garden year-round.
Rectangle
Freezing: Keeping Freshness on Ice
Freezing is a popular and effective method of preserving fruits and vegetables after harvest. It allows you to maintain the freshness and nutritional value of your produce for months, ensuring that you can enjoy the taste of summer even during the colder months. In this section, we will explore the science behind freezing as a preservation method and provide guidance on proper freezing techniques to maximize taste and prevent freezer burn.
When it comes to freezing, the key is to act quickly to preserve the freshness of the produce. Start by selecting high-quality fruits and vegetables that are at their peak of ripeness. For best results, choose produce that is firm, ripe, and free from any blemishes or signs of decay. Once you have selected your produce, it's time to prepare them for freezing.
Before freezing, it is important to properly clean and prepare the produce. Wash your fruits and vegetables thoroughly under running water to remove any dirt or debris. For fruits with delicate skins, such as berries, handle them gently to avoid bruising. For vegetables like carrots or broccoli, you may need to blanch them briefly in boiling water to preserve their color, texture, and nutrient content.
Once cleaned, it's time to pack your produce for freezing. For fruits, remove any stems, pits, or seeds before packing them into freezer-safe bags or containers. For vegetables, chop them into smaller, bite-sized pieces for easier handling. Be sure to leave enough space in the containers for the produce to expand as it freezes.
When packing your produce, it is important to remove as much air as possible from the bags or containers. Excess air can lead to freezer burn and affect the taste and texture of the produce. You can use a straw to suck out the air from ziplock bags or invest in a vacuum sealer for a more efficient and air-tight packing method.
Once your produce is packed, it's time to store them in the freezer. It's recommended to use a deep freezer for better temperature control and to prevent temperature fluctuations. Keep in mind that freezing slows down the growth of bacteria and enzymes but does not completely stop them. Therefore, it's important to consume your frozen produce within a reasonable time frame to maintain the best quality.
When it's time to defrost your produce, it's best to do it slowly in the refrigerator. This will help preserve the flavor and texture of the produce. Avoid defrosting at room temperature, as it can lead to the growth of bacteria. Once thawed, use your frozen fruits and vegetables in your favorite recipes or enjoy them as a healthy snack.
Freezing is a practical and convenient method for preserving your garden harvest. It allows you to enjoy the taste of your hard work throughout the year. By following these proper freezing techniques, you can ensure that your frozen produce retains its freshness, flavor, and nutrient values. So go ahead, stock up on your favorite fruits and vegetables, and keep the taste of summer on ice all year round!
Rectangle
Choosing the Right Technique: Which is Best for Your Harvest?
Preserving your garden harvest is an essential step in enjoying the fruits of your labor year-round. The right preservation technique can ensure that your produce retains its flavor, nutritional value, and quality, even after months of storage. But with so many options available, how do you choose the best technique for your harvest?
When considering which preservation method to use, there are several factors to analyze. Firstly, you need to take into account the type of produce you have. Different fruits and vegetables have different preservation requirements. For example, canning is an excellent choice for preserving high-acid foods like tomatoes and fruits, while freezing works well for many vegetables. Drying is a popular method for herbs and certain fruits. By understanding the characteristics of your harvest, you can select the technique that will best preserve its unique qualities.
Another factor to consider is your storage space. Some preservation methods, like canning, require a significant amount of storage space. If you have limited space, you may opt for techniques that take up less room, such as freezing or dehydrating. Freezing is an especially convenient option, as it allows you to store produce in smaller portions, making it easier to manage your inventory and reduce waste.
Flavor preference is also an important consideration. Certain preservation methods can affect the taste and texture of your produce. For instance, freezing can cause vegetables like peppers and cucumbers to become soft and lose their crispness. On the other hand, pickling can enhance the flavor of vegetables while adding a tangy twist. By knowing your flavor preferences, you can choose a preservation technique that aligns with your desired taste and texture.
In addition to individual preservation methods, combination techniques can also be employed for varied results. For example, blanching vegetables before freezing can help retain their color and nutrients, while still achieving the convenience of frozen storage. Combinations of techniques can offer flexibility and allow you to experiment with different flavors and textures.
Once you have chosen the right preservation technique, it is essential to properly rotate and utilize your preserved produce. To maximize the shelf life of your preserved goods, make sure to label them with the date and contents. This will help you keep track of what needs to be used first and prevent any wastage. Additionally, incorporating preserved produce into your cooking and meal planning on a regular basis will not only ensure its consumption but also add variety and flavor to your meals.
In conclusion, choosing the right preservation technique for your garden harvest requires careful consideration of factors such as the type of produce, storage space, and flavor preference. By understanding the unique characteristics of your harvest and the available preservation methods, you can select a technique that best preserves its qualities. Combination techniques can offer flexibility and experimentation. Remember to properly rotate and utilize your preserved produce to maximize its shelf life and add value to your meals. So go ahead, explore the world of post-harvest processing, and savor the flavors of your garden all year long.
Harnessing The Seasons: Your Year-Round Garden
Post-harvest processing opens up ways to enjoy the fruits of your labor throughout the year. By mastering canning, drying, and freezing techniques, you can transform your season-dependent garden into a year-round pantry.
Frame
Conclusion
Line
Cookie Management Tool
In addition to managing cookies through your browser or device, you can change your cookie settings below.
Necessary Cookies
Necessary cookies enable core functionality. The website cannot function properly without these cookies, and can only be disabled by changing your browser preferences.
Analytical Cookies
Analytical cookies help us to improve our application/website by collecting and reporting information on its usage.
Cookie Name Source Purpose Lifespan
_ga Google Analytics These cookies are set because of our use of Google Analytics. They are used to collect information about your use of our application/website. The cookies collect specific information, such as your IP address, data related to your device and other information about your use of the application/website. Please note that the data processing is essentially carried out by Google LLC and Google may use your data collected by the cookies for own purposes, e.g. profiling and will combine it with other data such as your Google Account. For more information about how Google processes your data and Google’s approach to privacy as well as implemented safeguards for your data, please see here. 1 Year
_pta PictureThis Analytics We use these cookies to collect information about how you use our site, monitor site performance, and improve our site performance, our services, and your experience. 1 Year
Cookie Name
_ga
Source
Google Analytics
Purpose
These cookies are set because of our use of Google Analytics. They are used to collect information about your use of our application/website. The cookies collect specific information, such as your IP address, data related to your device and other information about your use of the application/website. Please note that the data processing is essentially carried out by Google LLC and Google may use your data collected by the cookies for own purposes, e.g. profiling and will combine it with other data such as your Google Account. For more information about how Google processes your data and Google’s approach to privacy as well as implemented safeguards for your data, please see here.
Lifespan
1 Year

Cookie Name
_pta
Source
PictureThis Analytics
Purpose
We use these cookies to collect information about how you use our site, monitor site performance, and improve our site performance, our services, and your experience.
Lifespan
1 Year
Marketing Cookies
Marketing cookies are used by advertising companies to serve ads that are relevant to your interests.
Cookie Name Source Purpose Lifespan
_fbp Facebook Pixel A conversion pixel tracking that we use for retargeting campaigns. Learn more here. 1 Year
_adj Adjust This cookie provides mobile analytics and attribution services that enable us to measure and analyze the effectiveness of marketing campaigns, certain events and actions within the Application. Learn more here. 1 Year
Cookie Name
_fbp
Source
Facebook Pixel
Purpose
A conversion pixel tracking that we use for retargeting campaigns. Learn more here.
Lifespan
1 Year

Cookie Name
_adj
Source
Adjust
Purpose
This cookie provides mobile analytics and attribution services that enable us to measure and analyze the effectiveness of marketing campaigns, certain events and actions within the Application. Learn more here.
Lifespan
1 Year
This page looks better in the app
Open