camera identify
Try for Free
tab list
PictureThis
PictureThis
Search
Search Plants
Try for Free
This page looks better in the app

How to Illuminate Your Garden: Top 5 DIY Lighting Projects

Discover step-by-step guides to create unique, handcrafted garden lighting that transforms your outdoor space into a glowing masterpiece.
Rectangle Frame
Line
Lighting can redefine the ambience of a garden, painting a magical picture as dusk falls. Get ready to transform your garden into an enchanting sanctuary with our top 5 DIY garden lighting projects.
Rectangle
Fairy Lanterns: Glimmering Beauty in a Jar
Fairy lanterns are a charming and whimsical addition to any garden. These ethereal lights add a touch of magic and create a warm and inviting atmosphere in outdoor spaces. If you're looking to illuminate your garden with DIY lighting projects, fairy lanterns are a must-try. In this section, we'll explore the materials required and provide tips for selecting the perfect components for your fairy lanterns. We'll also walk you through the detailed steps to create your own fairy lantern masterpiece and offer ideas on how to display them for maximum effect.
Materials Required and Selection Tips for Fairy Lanterns
To create fairy lanterns, you will need a few key materials. Here's a list of what you'll need:
  1. Mason jars: Mason jars are the perfect vessels for fairy lanterns. They are sturdy and can withstand outdoor conditions. Consider using jars of different shapes and sizes to add variety to your garden.
  2. Fairy lights: Fairy lights are the heart and soul of fairy lanterns. Choose LED lights with warm white or soft yellow hues for a magical glow. Opt for battery-operated lights to make it easier to place the lanterns anywhere in your garden.
  3. Decorations: Get creative with decorating your fairy lanterns. You can use moss, small artificial flowers, twigs, or colorful ribbons to add a whimsical touch. Consider incorporating natural elements found in your garden to make the lanterns blend seamlessly with the surroundings.
When selecting materials for your fairy lanterns, it's important to consider the overall theme and style of your garden. Choose elements that complement the existing decor and create a cohesive look.
Detailed Steps to Create a Fairy Lantern
Creating a fairy lantern is a simple and enjoyable DIY project. Follow these steps to bring your fairy lanterns to life:
  1. Prepare the jar: Clean your mason jar thoroughly and remove any labels or sticky residue. Ensure the jar is completely dry before proceeding.
  2. Add decorations: Start by adding decorations to the bottom of the jar. Layer moss, flowers, or twigs to create a naturalistic base.
  3. Insert fairy lights: Coil the fairy lights inside the jar, making sure to distribute them evenly. Leave the end of the lights hanging outside the jar for easy access.
  4. Secure the battery pack: If using battery-operated lights, secure the battery pack to the lid of the jar using adhesive or twine.
  5. Seal the jar: Place the lid back on the jar and tighten it securely.
  6. Test the lights: Turn on the fairy lights to ensure they are working properly.
Tips to Display Fairy Lanterns for Maximum Effect
Once you have created your fairy lanterns, it's time to display them in your garden. Here are a few tips to enhance their beauty and make them truly shine:
  1. Hang them from trees: Use string or wire to suspend the lanterns from tree branches. This will create a magical floating effect.
  2. Line pathways: Place the lanterns along garden pathways or borders to guide guests and add a whimsical touch to the landscape.
  3. Group them together: Arrange multiple fairy lanterns together to create a stunning focal point. Grouping lanterns of different shapes and sizes will add visual interest.
  4. Use them as table decor: Bring the enchantment of fairy lanterns to your outdoor dining area by using them as centerpieces or table decor.
By following these methods, you can transform your garden into a fairy wonderland. The soft, glowing lights of the lanterns will create a magical ambiance and make your outdoor space feel like a fairytale come true. So, gather your materials, unleash your creativity, and start illuminating your garden with these DIY fairy lanterns.
Rectangle
Crafting Luminous Garden Globes
Garden globes are a fantastic way to add a touch of magic and illumination to your outdoor space. These enchanting fixtures, made from a variety of materials such as concrete, glass, or even recycled objects, can transform any garden into a whimsical wonderland. In this section, we will explore the process of crafting your own garden globe and provide some ideas on how to incorporate them into your garden.
To start with, let's talk about materials. When it comes to crafting garden globes, the possibilities are almost endless. One popular option is to use concrete. The great thing about concrete is that it is durable and weather-resistant, making it perfect for outdoor use. You can easily purchase concrete mix from your local hardware store and then mold it into the desired shape using an inflatable ball or a DIY mold made from a plastic container. Another option is to use glass or plastic globes that you can find at craft stores. These globes come in various sizes and designs, allowing you to create a truly unique piece.
Once you have your materials ready, it's time to start the crafting process. If you're working with concrete, begin by mixing the concrete according to the instructions on the package. Then, inflate a large rubber ball and cover it with a layer of petroleum jelly to prevent the concrete from sticking. Next, apply the concrete mixture onto the ball, smoothing it out with a trowel or your hands. Make sure to leave a small opening at the bottom of the globe for the light fixture to go through. Let the concrete dry for at least 24 hours before deflating the ball and removing it from the globe.
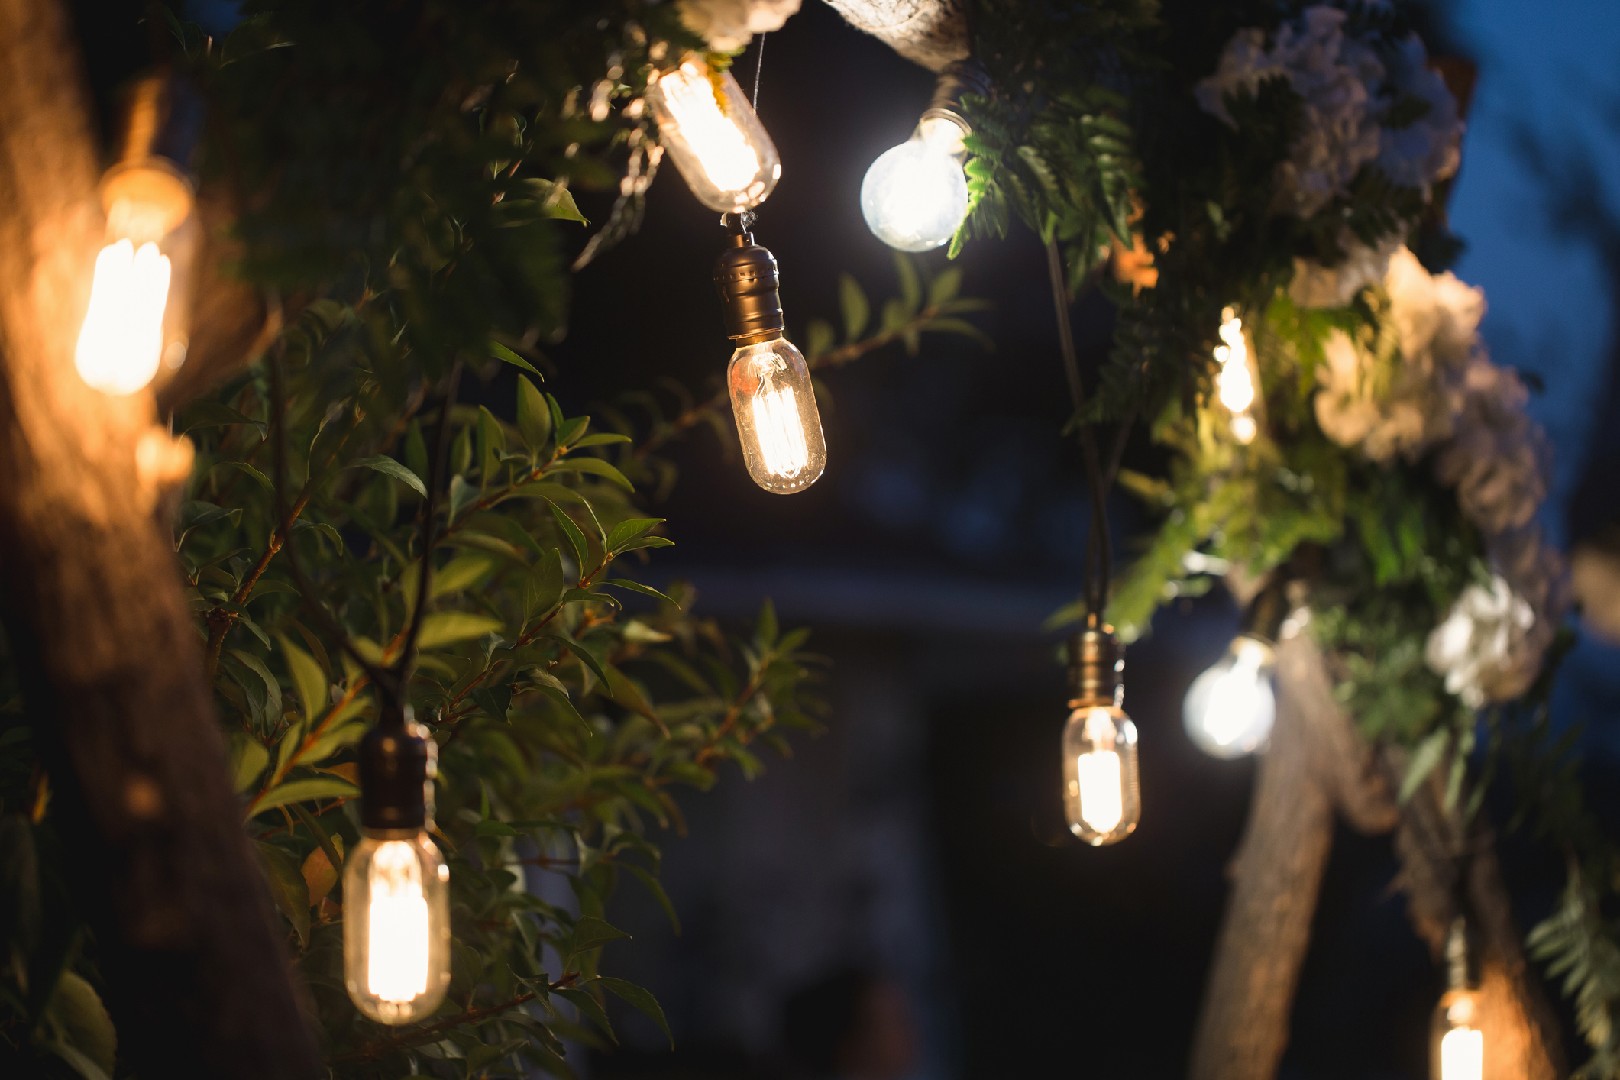
If you're using glass or plastic globes, the process is even simpler. Start by removing the top or bottom of the globe, creating an opening for the light fixture. You can do this by carefully cutting the globe using glass-cutting tools or a hot knife. Once the opening is ready, you can insert a string of fairy lights or a small LED light into the globe. These lights will illuminate the globe and create a mesmerizing effect in your garden.
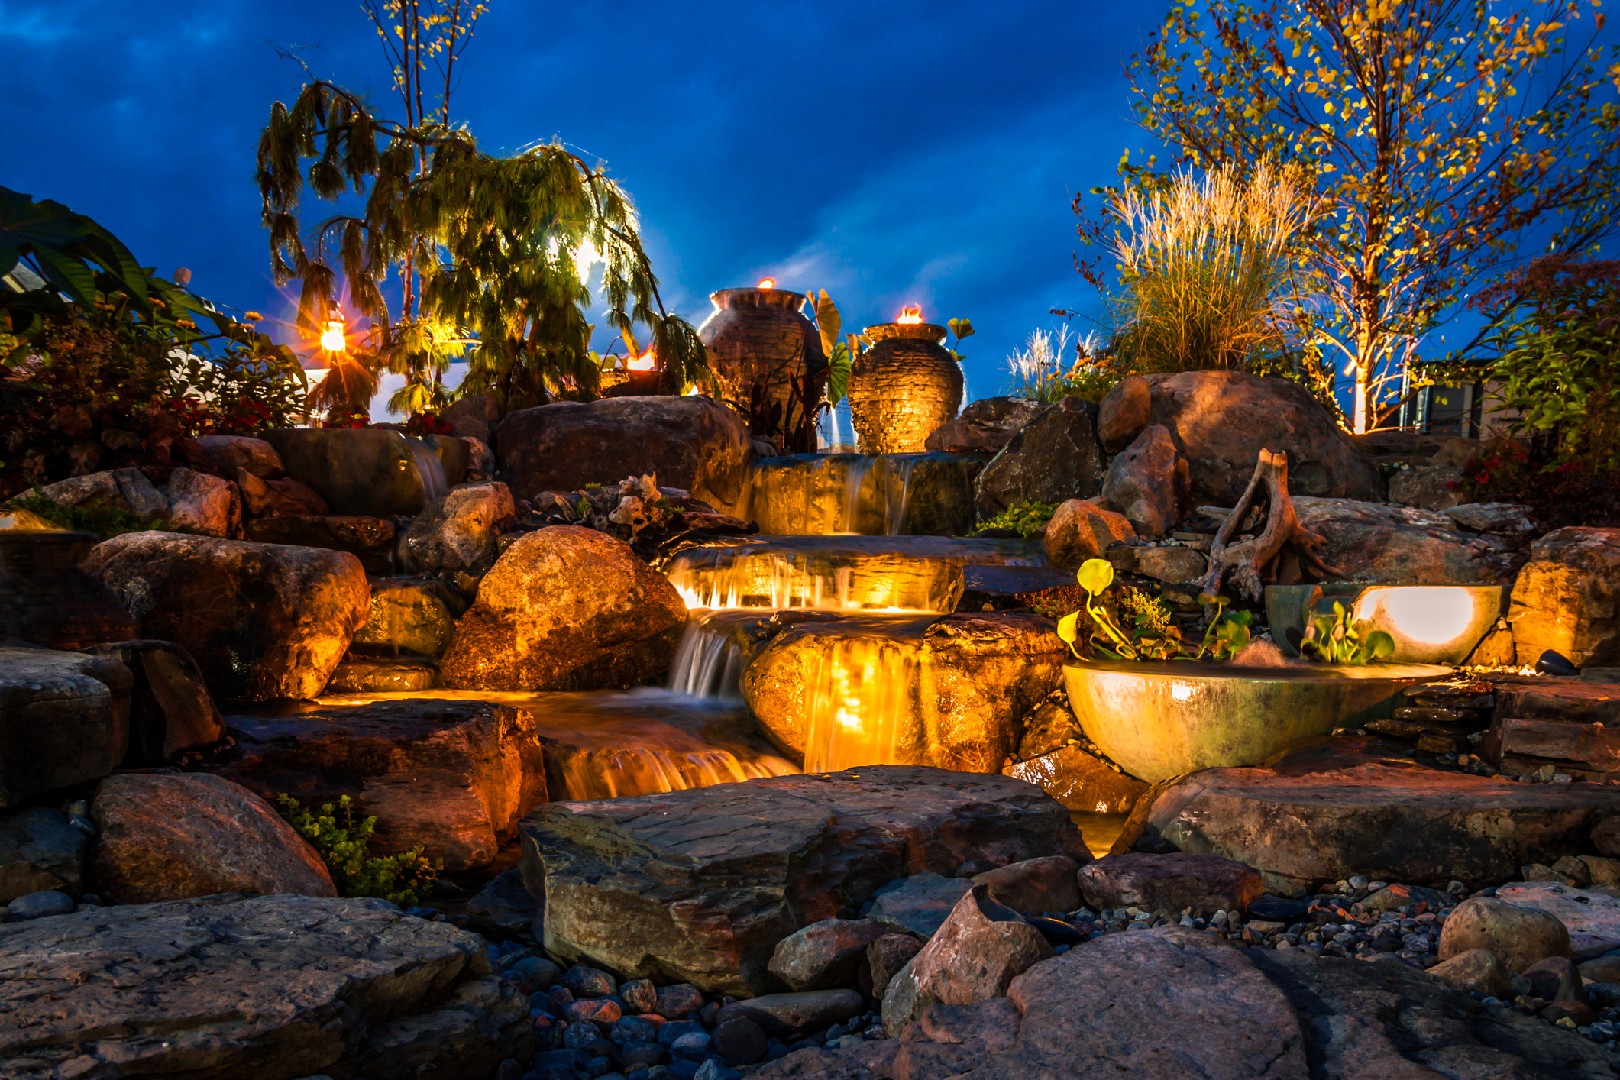
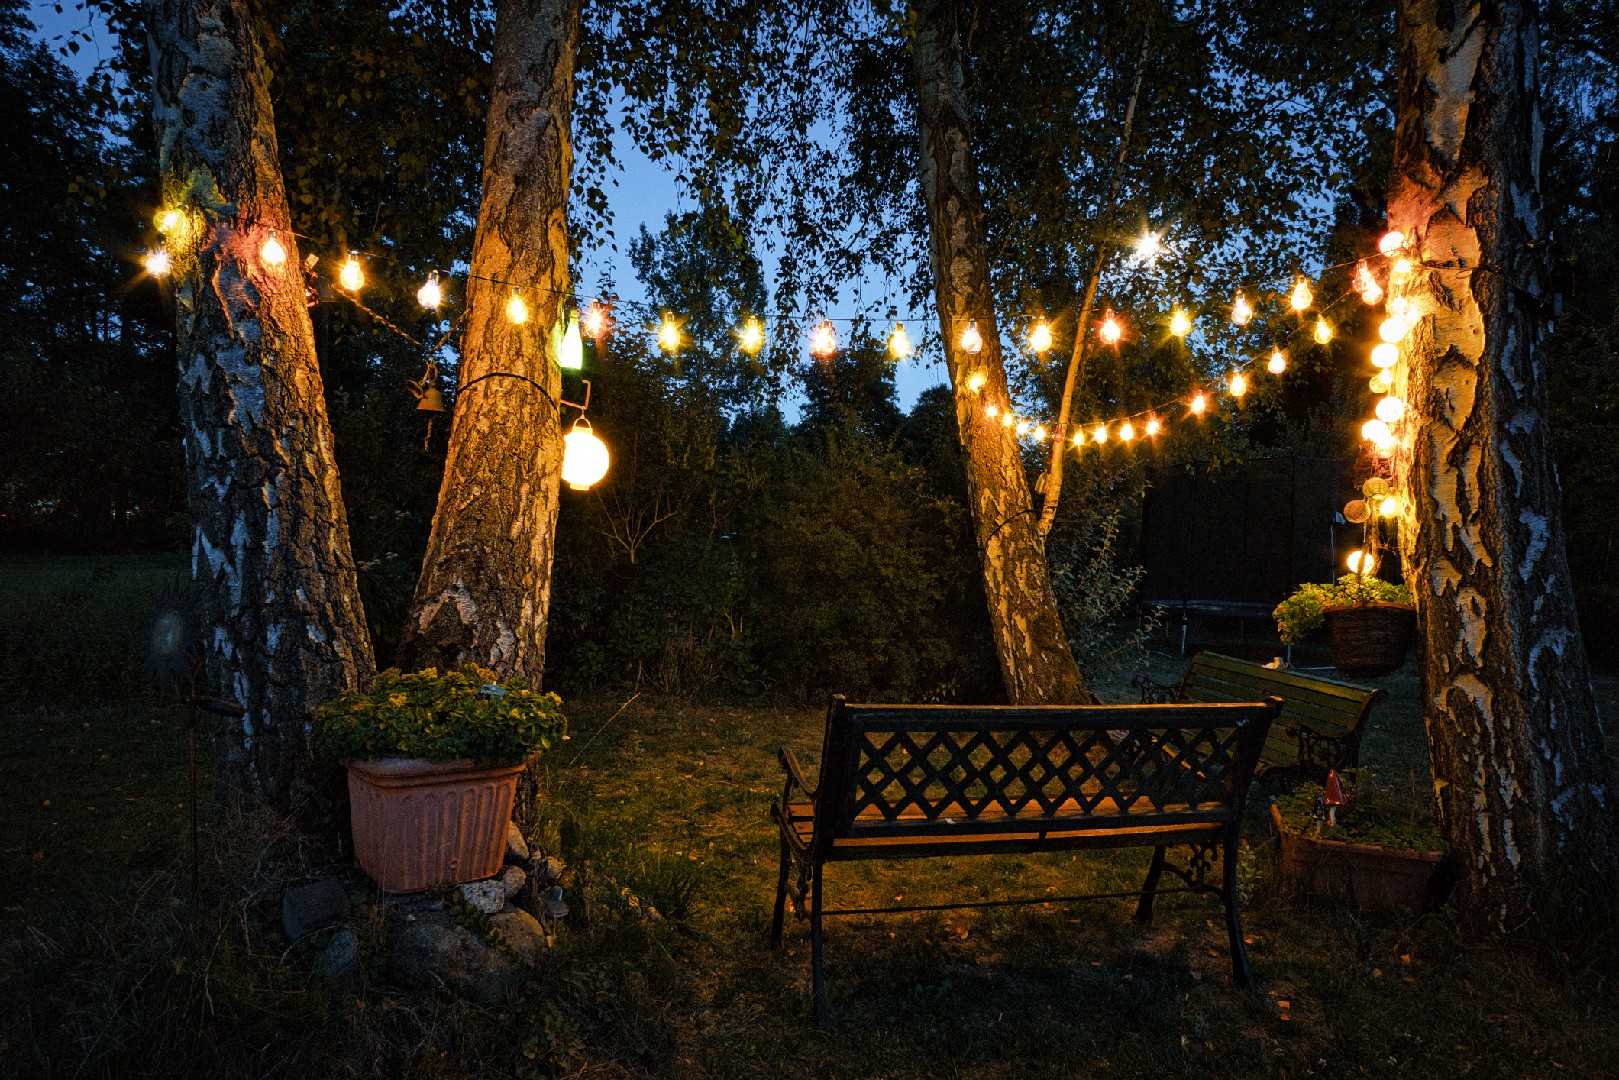
Now that you have your luminous garden globe ready, it's time to decide on the placement and arrangements in your garden. One idea is to place them along pathways or near seating areas to create a warm and inviting atmosphere. You can also hang them from trees or shepherd hooks to add height and visual interest. Consider grouping different-sized globes together to create an eye-catching display. Additionally, you can experiment with different colors or patterns to suit your personal taste and the overall theme of your garden.
Crafting your own garden globes is not only a fun and creative DIY project, but it also allows you to add a personal touch to your outdoor space. By incorporating these luminous fixtures into your garden, you can create a magical ambiance that will delight both you and your guests. So gather your materials, unleash your creativity, and let the light shine in your garden!
Rectangle
Magical Mason Jar Solar Lights
Mason jar solar lights are a creative and eco-friendly way to illuminate your garden. They add a touch of magic to any outdoor space and are perfect for outdoor parties, gatherings, or simply enjoying a quiet evening in your garden. In this section, we will guide you through the process of creating your own mason jar solar lights, from selecting the right materials to innovative mounting ideas.
To create your own mason jar solar lights, you will need a few key materials. First, you will need mason jars. Opt for clear mason jars as they allow the most light to shine through. You can find them at your local crafts store or even repurpose old ones. Next, you will need solar-powered light lids specifically designed for mason jars. These lids consist of a small solar panel and an LED light. They are easy to use and eliminate the need for wiring or electricity. Lastly, gather some decorative elements to personalize your mason jar solar lights, such as ribbons, twine, or even colorful glass beads.
Now, let's dive into the DIY guide for creating your own mason jar solar lights. Start by cleaning your mason jars thoroughly to remove any dust or dirt. Then, attach the solar-powered light lid to the top of the jar. Ensure that the solar panel is facing upward to capture as much sunlight as possible during the day. Once the lid is securely attached, it's time to get creative with the decoration. Wrap a ribbon or twine around the neck of the jar, or glue colorful glass beads for a whimsical touch. Let your imagination run wild and tailor the design to your personal style.
When it comes to mounting your mason jar solar lights, the possibilities are endless. One popular option is to hang them from tree branches using sturdy twine or wire. This creates a magical atmosphere and adds height to your garden lighting. Another creative idea is to place them on your garden pathway, using stakes or small rocks to keep them in place. This not only guides your guests but also enhances the overall ambiance of your garden. Remember to strategically position your mason jar solar lights in areas that receive ample sunlight during the day, to maximize their brightness at night.
In addition to their enchanting aesthetics, mason jar solar lights are an eco-friendly lighting solution. By harnessing the power of the sun, they reduce energy consumption and help minimize your carbon footprint. This makes them a sustainable choice for illuminating your garden.
To summarize, creating your own mason jar solar lights is a fun and rewarding DIY project that adds a touch of magic to your garden. By following the steps outlined above and incorporating your personal style, you can create unique and enchanting lighting fixtures. Remember to place them strategically in areas that receive sufficient sunlight and consider innovative mounting ideas such as hanging them from tree branches or placing them along pathways. With these eco-friendly lights, you can enjoy a beautifully illuminated garden while minimizing your impact on the environment. So why wait? Start your own DIY mason jar solar light project today!
Rectangle
Breathtaking Bottle Tree Lights
Bottle tree lights are a delightful and eye-catching addition to any garden. Originating from the American South, these whimsical structures are made from repurposed bottles stacked on twisted metal branches. The ambient glow emitted by the bottles creates a magical and enchanting atmosphere that is perfect for outdoor gatherings, evening strolls, or simply enjoying a peaceful moment within the serenity of your garden.
Lighting the Way to a Radiant Garden
Armed with these DIY projects, you're on your way to transforming your garden into a radiant haven. It's time to personalize your outdoor space with lights that express your unique taste and creativity.
Frame
Conclusion
Line
Cookie Management Tool
In addition to managing cookies through your browser or device, you can change your cookie settings below.
Necessary Cookies
Necessary cookies enable core functionality. The website cannot function properly without these cookies, and can only be disabled by changing your browser preferences.
Analytical Cookies
Analytical cookies help us to improve our application/website by collecting and reporting information on its usage.
Cookie Name Source Purpose Lifespan
_ga Google Analytics These cookies are set because of our use of Google Analytics. They are used to collect information about your use of our application/website. The cookies collect specific information, such as your IP address, data related to your device and other information about your use of the application/website. Please note that the data processing is essentially carried out by Google LLC and Google may use your data collected by the cookies for own purposes, e.g. profiling and will combine it with other data such as your Google Account. For more information about how Google processes your data and Google’s approach to privacy as well as implemented safeguards for your data, please see here. 1 Year
_pta PictureThis Analytics We use these cookies to collect information about how you use our site, monitor site performance, and improve our site performance, our services, and your experience. 1 Year
Cookie Name
_ga
Source
Google Analytics
Purpose
These cookies are set because of our use of Google Analytics. They are used to collect information about your use of our application/website. The cookies collect specific information, such as your IP address, data related to your device and other information about your use of the application/website. Please note that the data processing is essentially carried out by Google LLC and Google may use your data collected by the cookies for own purposes, e.g. profiling and will combine it with other data such as your Google Account. For more information about how Google processes your data and Google’s approach to privacy as well as implemented safeguards for your data, please see here.
Lifespan
1 Year

Cookie Name
_pta
Source
PictureThis Analytics
Purpose
We use these cookies to collect information about how you use our site, monitor site performance, and improve our site performance, our services, and your experience.
Lifespan
1 Year
Marketing Cookies
Marketing cookies are used by advertising companies to serve ads that are relevant to your interests.
Cookie Name Source Purpose Lifespan
_fbp Facebook Pixel A conversion pixel tracking that we use for retargeting campaigns. Learn more here. 1 Year
_adj Adjust This cookie provides mobile analytics and attribution services that enable us to measure and analyze the effectiveness of marketing campaigns, certain events and actions within the Application. Learn more here. 1 Year
Cookie Name
_fbp
Source
Facebook Pixel
Purpose
A conversion pixel tracking that we use for retargeting campaigns. Learn more here.
Lifespan
1 Year

Cookie Name
_adj
Source
Adjust
Purpose
This cookie provides mobile analytics and attribution services that enable us to measure and analyze the effectiveness of marketing campaigns, certain events and actions within the Application. Learn more here.
Lifespan
1 Year
This page looks better in the app
Open