![Rectangle]()
Installation Guide: Setting Up Your LED Garden Lights
Setting up LED garden lights can greatly enhance the aesthetics and functionality of your outdoor space. Whether you're looking to create a cozy ambience for evening gatherings or highlight specific areas in your garden, careful planning and strategic light placement are key. In this installation guide, we will walk you through the step-by-step process of installing LED garden lights, while emphasizing safety precautions and providing practical tips for maximum effect.
First and foremost, it's important to ensure your safety during the installation process. Before you begin, make sure to turn off the power supply to the area where you'll be working. This will prevent any potential electrical accidents. Additionally, always wear insulated gloves to protect yourself from electric shocks.
Now, let's get started with the installation process. The first step is to determine the areas in your garden where you want to install the LED lights. Take a walk around your garden during the day and identify specific plants, statues, or pathways that you'd like to illuminate. Consider the overall desired effect and atmosphere you want to create. This will help you determine the number and type of LED lights you'll need.
Next, measure the distances between each desired installation point and the main power source. This will help you determine the length of cables you'll need. It's important to choose outdoor-rated cables that are durable and can withstand outdoor conditions such as rain and temperature fluctuations.
Once you have determined the installation points and gathered the necessary materials, it's time to start connecting the LED lights to the cables. Begin by cutting the cables to the required length, ensuring that there is enough slack for flexibility. Strip the ends of the cables and connect them to the LED lights according to the manufacturer's instructions. Use weatherproof connectors to ensure a secure and long-lasting connection.
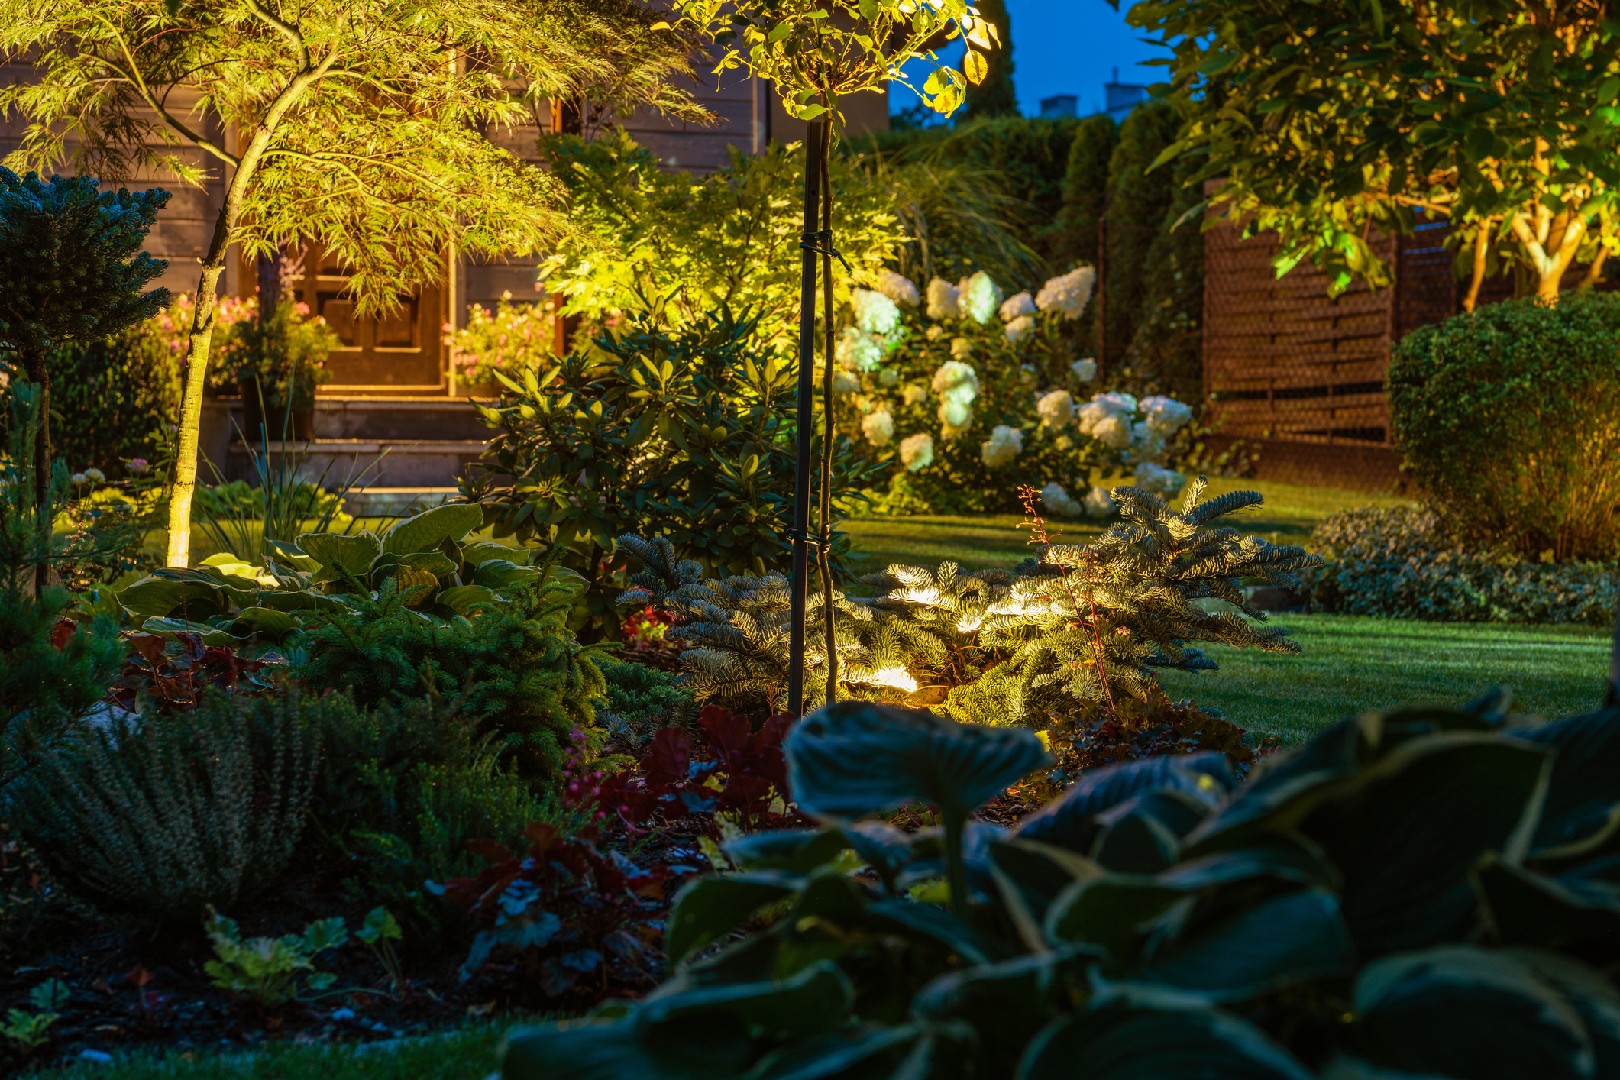
Now, you're ready to position the LED lights in their designated spots. Place them strategically to highlight the unique features of your garden, such as trees or architectural elements. You can experiment with different angles and distances to achieve the desired lighting effects.
Finally, once all the lights are installed and positioned, it's time to test the system. Turn on the power supply and check if all the LED lights are working properly. If you encounter any issues, double-check the connections and consult the manufacturer's troubleshooting guide.
In conclusion, installing LED garden lights is a rewarding project that can transform your outdoor space. By following these step-by-step instructions and emphasizing safety precautions, you can create an illuminated garden that is both efficient and aesthetically pleasing. Remember, you can either choose to install the lights yourself or hire a professional, depending on the complexity of the project. So go ahead, bring your garden to life and enjoy the beauty of LED lighting.


