![Rectangle]()
The Technique: Step-by-Step Guide to Propagating Cuttings
Propagating plants from cuttings is a rewarding and cost-effective way to expand your garden. Whether you want to replicate your favorite flowers, herbs, or vegetables, this technique allows you to create new plants that are genetically identical to their parent. Not only does it save you money on buying new plants, but it also gives you the satisfaction of nurturing and growing your own plant babies!
Making the cut: where and how to cut.
The first step in propagating cuttings is to make a clean and precise cut. Look for healthy stems that are free from disease or pests. Using a sharp, sterile knife or pruning shears, cut just below a node—the point where leaves emerge from the stem. This is where the new roots will develop. Make sure to cut at a 45-degree angle, as it increases the surface area for rooting and reduces the chances of rotting.
Preparing the cuttings and potting medium.
Once you have made the cut, remove any leaves from the lower half of the stem. This reduces the water loss and allows the plant to focus its energy on root development. Dip the cut end of the stem in a rooting hormone, such as powdered or liquid form. This hormone stimulates root growth and increases the chances of successful propagation.
Next, prepare the potting medium. It should be well-draining and suitable for the specific type of plant you are propagating. For example, succulents prefer a mix of sand and perlite, while leafy plants thrive in a peat-based soil mixture. Fill a small container with the potting medium, leaving enough space for the cuttings to be inserted vertically.
Rooting the cuttings: lights, watering, and waiting.
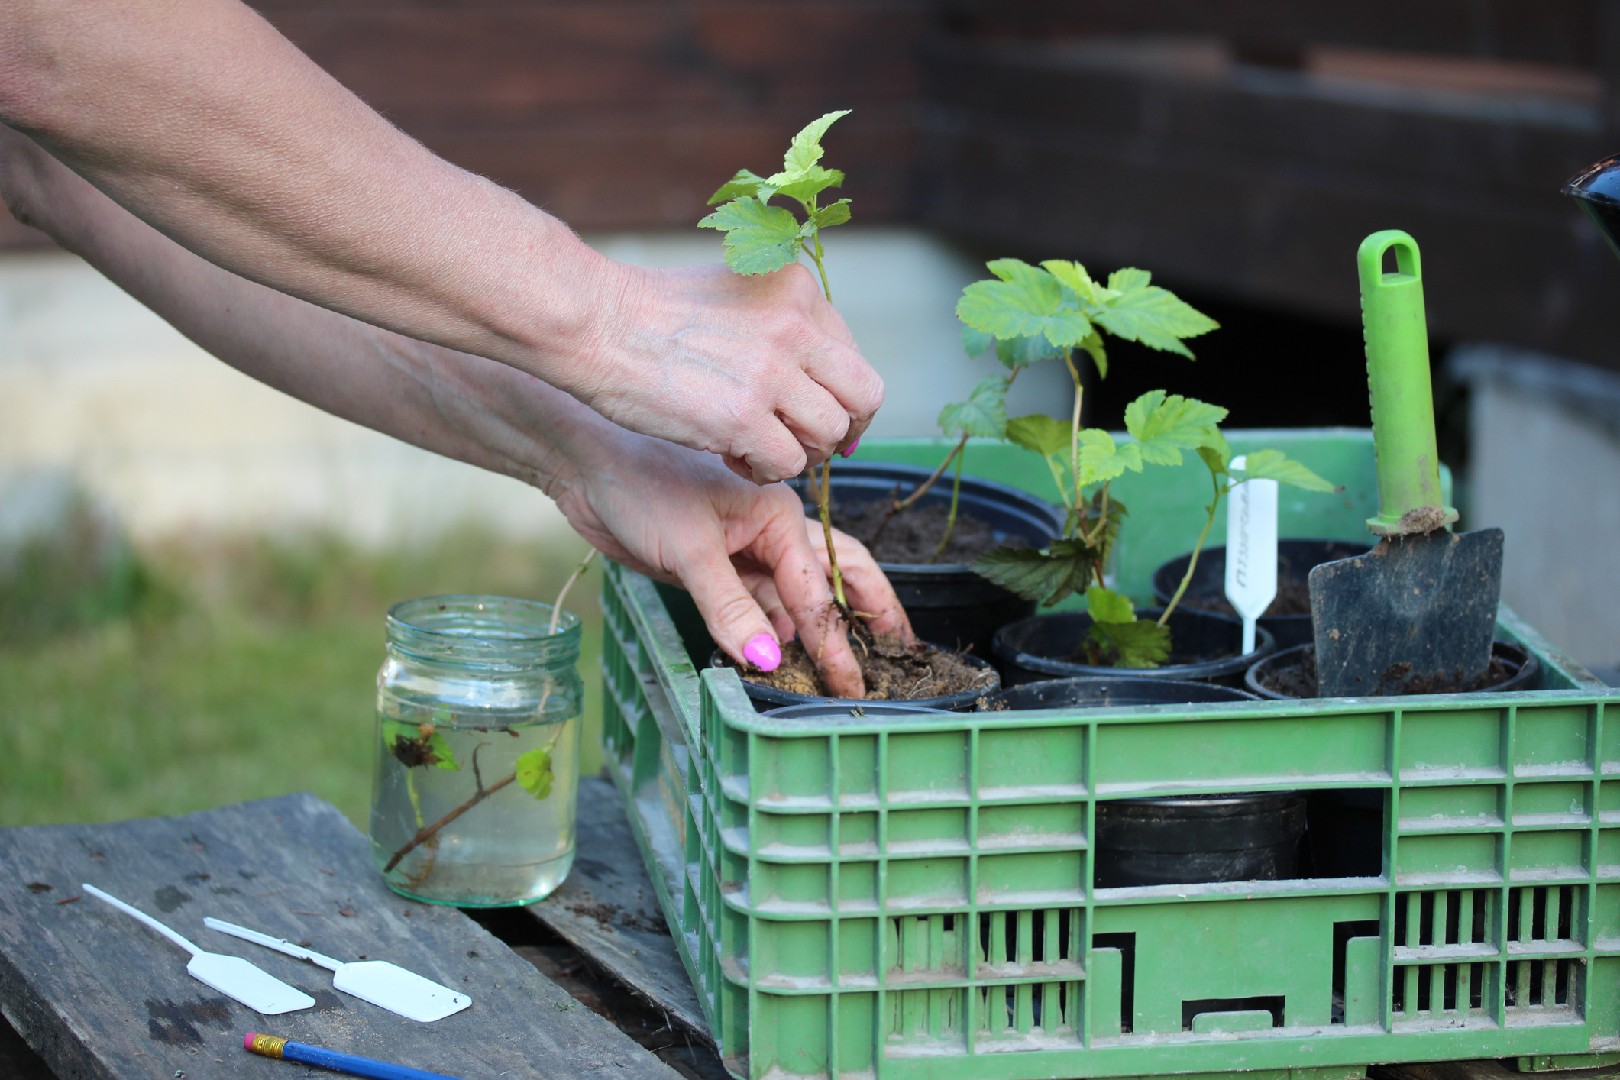
Place the cuttings in the prepared potting medium, making sure the cut end is in contact with the soil. Lightly press the soil around the stem to provide stability.
To promote root growth, it is essential to provide the cuttings with the right amount of light, moisture, and warmth. Place the container in a bright location, but away from direct sunlight, as it can scorch the cuttings. You can use a grow light if natural light is limited.
Water the cuttings regularly, keeping the potting medium slightly moist but not waterlogged. To avoid overwatering, it is best to let the soil dry out slightly before watering again. Mist the leaves occasionally to maintain a humid environment around the cuttings.
Now comes the waiting game. Be patient and give the cuttings time to establish roots. This process can take anywhere from a few weeks to a few months, depending on the type of plant and environmental conditions. To check for roots, gently tug on the stem. If you feel resistance, it means the roots have formed.
Once the roots have developed, you can transplant the cuttings into their own containers or directly into the garden. Be sure to acclimate them to their new environment gradually, increasing their exposure to sunlight and reducing their reliance on moisture.
By following these steps, you can successfully propagate your favorite plants through cuttings. Not only does this technique allow you to expand your garden, but it also gives you the opportunity to connect with nature and gain a deeper understanding of plant growth. So grab your pruning shears and get ready to embark on a journey of plant parenthood—your garden will thank you for it!


