![Rectangle]()
Building Your Spring Rain Garden: A Step-by-Step Guide
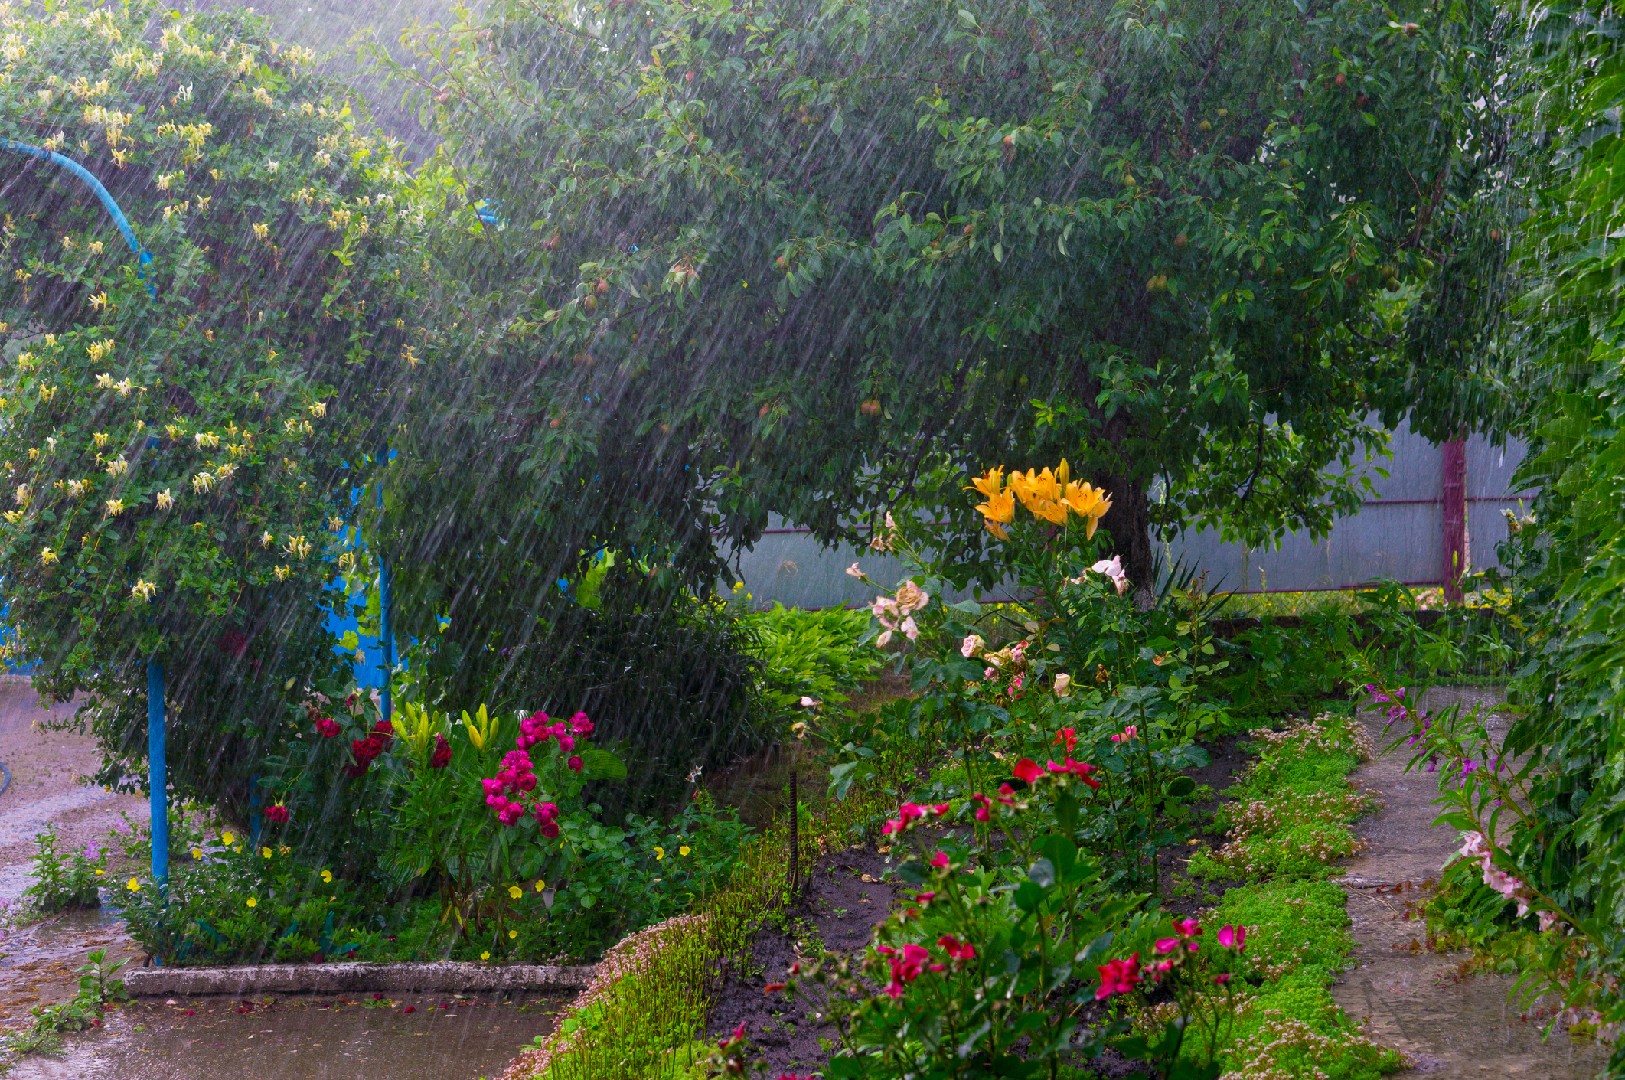
Spring is a wonderful time of year when nature comes alive with vibrant colors and fresh fragrances. It's the perfect season to create a captivating rain garden that not only enhances the beauty of your landscape but also helps to conserve water. In this step-by-step guide, we will walk you through the process of building your own spring rain garden.
Step 1: Choose the Right Location The first step in creating a successful rain garden is to choose the right location. Look for an area in your yard that receives a good amount of rainfall and has proper drainage. Consider the slope of the land as well, as this will affect the water flow in your garden. A slight slope is ideal for ensuring proper water drainage.
Step 2: Determine the Size and Shape Once you have selected the location, it's time to determine the size and shape of your rain garden. Consider the space you have available and the amount of rainfall in your area. A typical rain garden is about 100 to 300 square feet, but you can adjust the size according to your needs. When it comes to shape, a curved or kidney-shaped design is not only visually appealing but also helps to capture and retain water effectively.
Step 3: Dig the Garden Now that you have decided on the size and shape, it's time to dig the garden. Start by removing any grass or vegetation from the designated area. Use a shovel or a garden tiller to carefully dig the soil, ensuring that it is loosened to a depth of at least 6 to 8 inches. This will help to improve drainage and allow the plants to grow deep roots.
Step 4: Planting Practices for Successful Growth Once the garden is dug, it's time to focus on planting practices for successful growth. Choose a variety of native plants that are well-suited to the climate and soil conditions in your area. Native plants are not only beautiful but also require less maintenance and are more resistant to pests and diseases. Group plants with similar water needs together to ensure efficient water usage.
Step 5: Placement Strategies for Diverse Flora When planting your rain garden, consider the placement strategies for diverse flora. Place taller plants at the back and shorter plants towards the front to create depth and visual interest. Mix different colors, textures, and bloom times to create a vibrant and ever-changing display throughout the spring season. Incorporate a mix of perennial and annual plants to ensure a continuous show of flowers.
Step 6: Maintenance Tips for a Flourishing Garden To ensure your rain garden flourishes during the spring and beyond, regular maintenance is crucial. During the growing season, water your garden regularly, especially during dry spells. Mulch around the plants to retain moisture, suppress weeds, and improve the soil. Remove weeds regularly to prevent them from competing with your plants for nutrients. Prune dead stems and flowers to promote new growth and keep your garden looking tidy.
By following these steps, you can create a captivating rain garden that not only adds beauty to your landscape but also helps to conserve water. Remember to choose the right location, determine the size and shape, dig the garden, plant strategically, and provide regular maintenance. Enjoy the beauty of your spring rain garden and take pride in your contribution to the conservation of water and the preservation of nature's beauty.


