![Rectangle]()
How to Test Your Soil Correctly
When it comes to growing your own fruits, vegetables, and herbs, it is essential to have a good understanding of your garden soil. Testing your soil correctly will provide you with valuable information about its pH level and nutrient content, allowing you to make necessary amendments to ensure optimal growth and productivity of your plants.
To begin with, it is important to know where to take soil samples from, how much to collect, and the right timing for sampling. The best place to take soil samples from is a representative section of your garden. Avoid areas that have been recently fertilized or where chemicals have been applied. You can choose different spots across your garden, considering factors such as variations in soil type, sun exposure, or proximity to trees and other plants.
For collecting the soil sample, you will need a clean trowel or a soil auger that can penetrate the soil easily. Dig a small hole in each spot and collect soil from different depths such as the surface, 4-6 inches below, and 8-12 inches below. Mix the soil samples together in a clean container, ensuring there are no large rocks, debris, or roots in the mixture. This composite sample will provide a representative analysis of your garden soil.
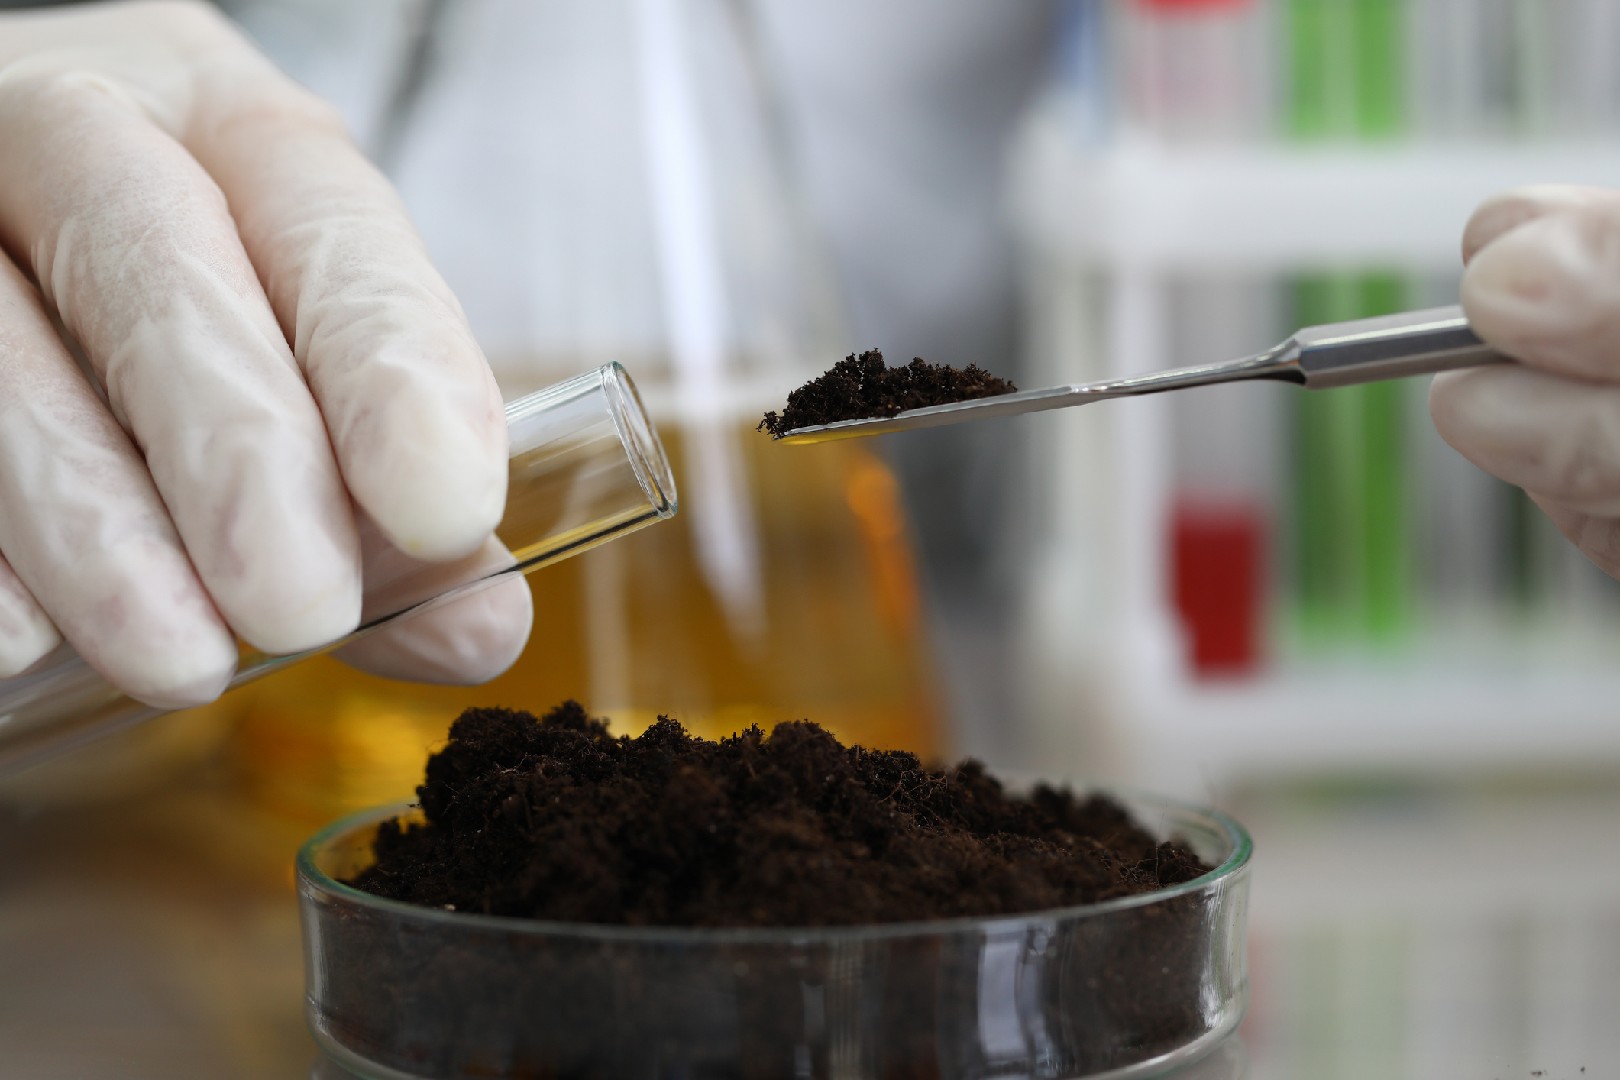
Once you have collected the soil sample, it's time to perform a DIY soil test for pH and nutrients. Soil test kits are readily available in garden centers or can be purchased online. These kits come with detailed instructions on how to use them, but here's a general overview of the process:
-
Wet the soil sample: Add distilled water to the soil sample and mix it thoroughly to create a slurry. This will help release the nutrients and prepare the sample for testing.
-
Test pH level: Take a pH testing strip or use the provided pH indicator solution in the kit. Dip the strip into the slurry or add a few drops of the indicator solution. Compare the color of the strip or the solution with the chart provided to determine the pH level of your soil. pH level influences nutrient availability to plants and plays a vital role in their overall health and productivity.
-
Test nutrient levels: Depending on the soil test kit you have, you can test for essential nutrients such as nitrogen, phosphorus, and potassium. Follow the instructions provided with the kit to perform the tests accurately. These tests will give you an idea of the nutrient deficiencies or excesses in your soil, helping you address them effectively.
Interpreting the results of your soil test is crucial to understanding the amendments your garden soil needs. Soil test kits often provide guidelines or recommendations for corrective actions based on the test results. For example, if your soil is acidic (low pH), adding lime can help raise the pH level. On the other hand, if your soil lacks certain nutrients, organic amendments like compost, manure, or specific fertilizers can be applied to enhance nutrient levels.
Regular soil testing is recommended to monitor changes in your garden soil over time and make necessary adjustments. By understanding the current state of your soil and providing it with the required amendments, you can create a favorable environment for your plants to thrive and produce superior edibles.
In conclusion, testing your soil correctly is essential for successful gardening. By following the steps mentioned above and using a DIY soil test kit, you can obtain valuable information about your soil's pH level and nutrient content. Interpreting the test results and making appropriate amendments will help you provide the best possible conditions for your plants to grow and yield healthy, flavorful edibles. Don't underestimate the power of soil testing, as it will significantly contribute to the success of your gardening endeavors.


