![Rectangle]()
Step-by-step Process of Soil Testing
Soil testing is a crucial process that helps you understand the health of your soil and provides valuable insights for optimizing plant growth. By following a systematic step-by-step process, you can ensure accurate results and make informed decisions for your gardening or farming endeavors.
- Soil Sampling Procedure:
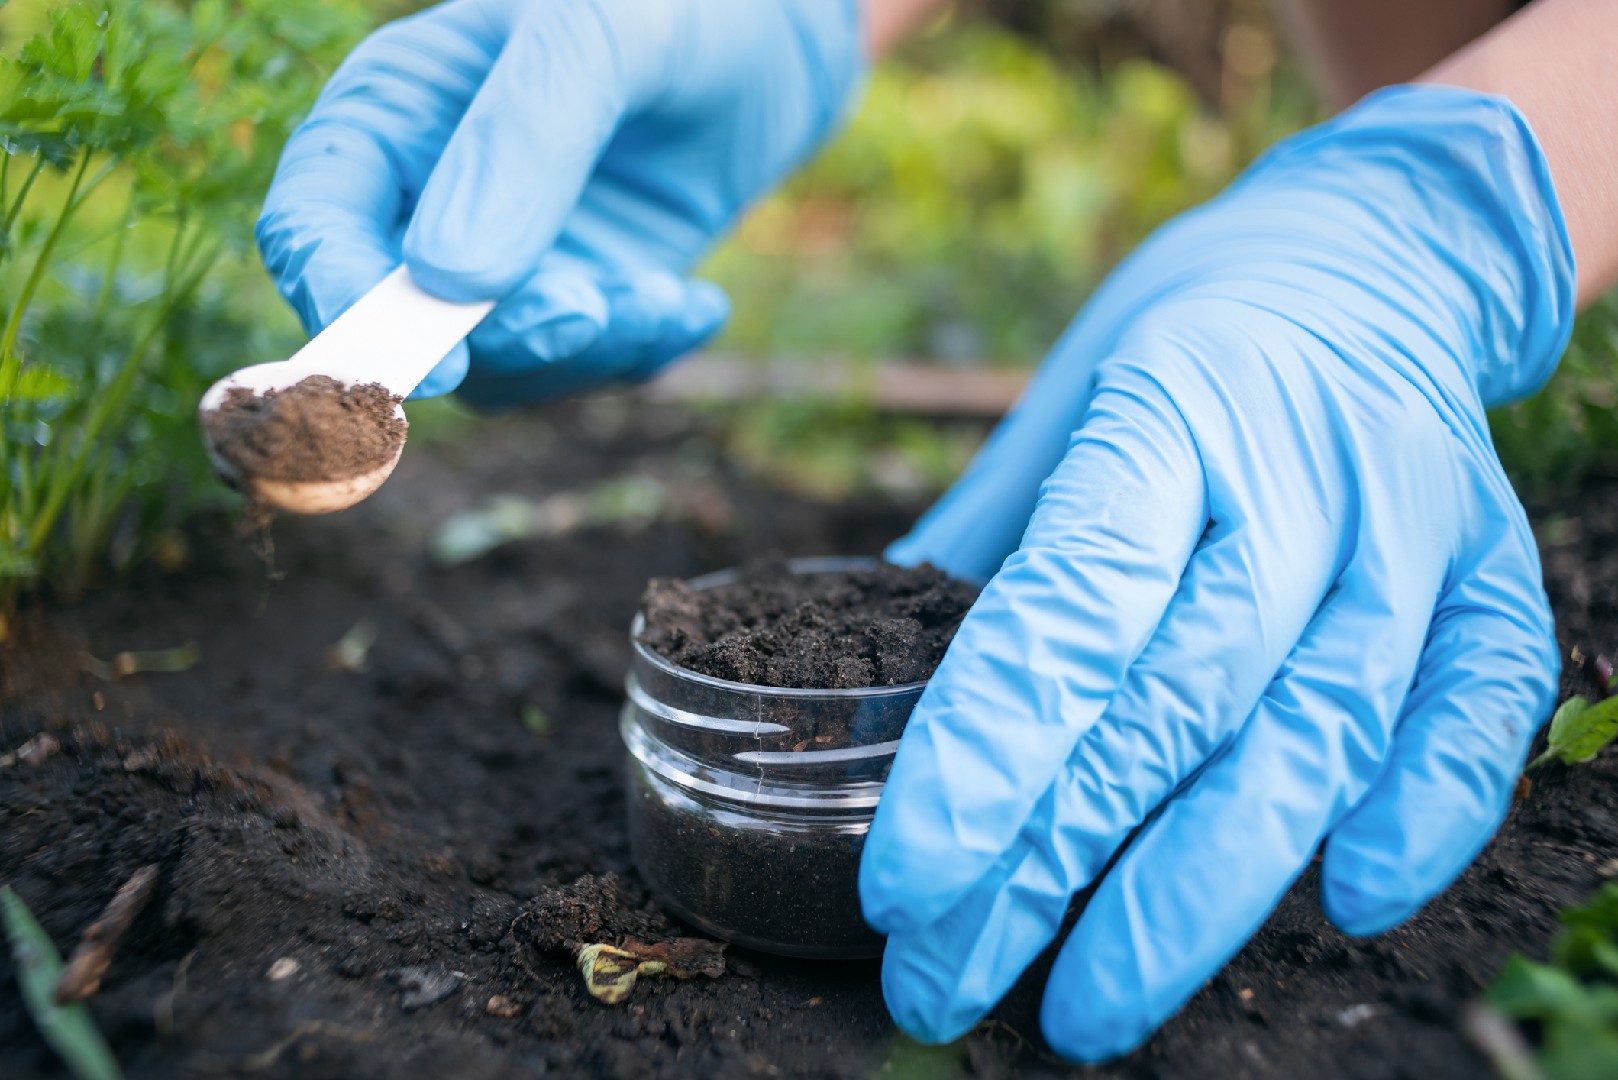
The first step in soil testing is the collection of soil samples. Start by identifying the area you want to test. Consider factors such as the type of plants you are growing, the soil type, and any specific areas of concern, such as areas with poor growth or nutrient deficiencies.
To collect soil samples, you will need a stainless-steel trowel, a clean bucket, and a soil sample bag. Begin by removing any surface debris and vegetation from the area you want to sample. Then, use the trowel to dig a small hole in the soil, taking care to collect samples from different depths. Collect multiple samples from various locations within the test area to ensure representativeness.
- Soil Testing Methods:
Once you have collected the soil samples, you can choose from various soil testing methods depending on your requirements. The most common methods include traditional laboratory testing and rapid diagnostic testing kits.
Traditional laboratory testing involves sending your soil samples to a testing facility, where they undergo a series of chemical analyses. These tests measure key nutrients such as nitrogen, phosphorus, potassium, pH levels, and organic matter content. Additionally, they may also assess the presence of heavy metals, toxins, and soil contaminants. This detailed analysis provides comprehensive insights into your soil's composition and allows for targeted amendments to improve its fertility.
On the other hand, rapid diagnostic testing kits are convenient and provide quick results. These kits usually come with color-coded strips or capsules that change color based on the nutrient levels in your soil. While they offer a more basic analysis, they can be useful for obtaining a quick snapshot of your soil's nutrient status.
- Duration and Expectations:
The duration of soil tests depends on the testing method and the facility you choose. Traditional laboratory testing can take anywhere from a few days to a couple of weeks to deliver results, as they involve complex procedures and large sample volumes. On the other hand, rapid diagnostic kits provide instant results, allowing you to make immediate adjustments to your soil management practices.
When interpreting the results, it's essential to understand that soil testing provides valuable information, but it's a single snapshot of your soil's condition. Soil composition can vary across your land, so it's crucial to take multiple samples and test periodically to track any changes or improvements.
In conclusion, understanding the step-by-step process of soil testing is vital for any gardener or farmer who wants to optimize their soil's health and fertility. By following the proper sampling procedure and choosing the appropriate testing methods, you can gain valuable insights and tailor your soil management practices to meet the specific needs of your plants. So, take the time to invest in soil testing and unlock the secrets below the surface for thriving gardens and bountiful harvests.